-
Mix the baking soda and hydrogen peroxide in a bowl until well combined.
-
Add the dish soap and stir until the mixture becomes a thick, smooth paste.
That’s it! Your tile and grout cleaner is ready to use.
How to Use It
-
Prep the area: Lightly wet your grout lines to help the paste stick better.
-
Apply the paste: Spread it directly over the grout using your fingers, an old toothbrush, or a cleaning brush.
-
Let it sit: Leave it on for 10 to 15 minutes to allow the ingredients to break down dirt and stains.
-
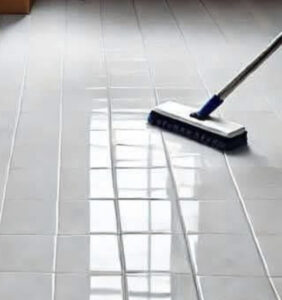
Scrub: Use a stiff-bristled brush to scrub the grout lines. For tighter areas, a toothbrush works great.
-
Rinse and wipe: Rinse with warm water and wipe clean with a damp microfiber cloth or mop.
The Results
In just one application, most users see their grout go from grimy gray to a fresh, lighter tone. Stubborn stains may need a second round, but the difference is usually dramatic.
Tips for Best Results
-
Work in small sections so the paste doesn’t dry out before you scrub.
-
Don’t use too much force when scrubbing—let the ingredients do most of the work.
-
After cleaning and drying, consider sealing your grout to keep it protected from future stains.
When to Try Something Stronger
If you’re dealing with deeply embedded mold or long-term discoloration, you might need a stronger mix. Some people opt for a borax-based cleaner or even a diluted bleach solution—but these should be used with caution and only on non-porous tiles.
Final Thoughts
This DIY tile and grout cleaner is simple, safe, and highly effective. With just a few ingredients and a little elbow grease, you can give your floors a like-new shine—no need to rely on expensive or chemical-heavy products. It’s a natural, affordable way to brighten up your home, one tile at a time.